
Workstation & Time:
It is best to set up your workstation outside as this is a proper hands on concrete Diy and things will get messy!
Also, things should remain where they are poured and hand formed ;) for at least 3 to 4 hours for most fast setting mixes or 24 hours for a standard mix; it helps, if the surface is flat and fairly level; minimum time required is 4 hours but you will have 3 hours free time in-between.
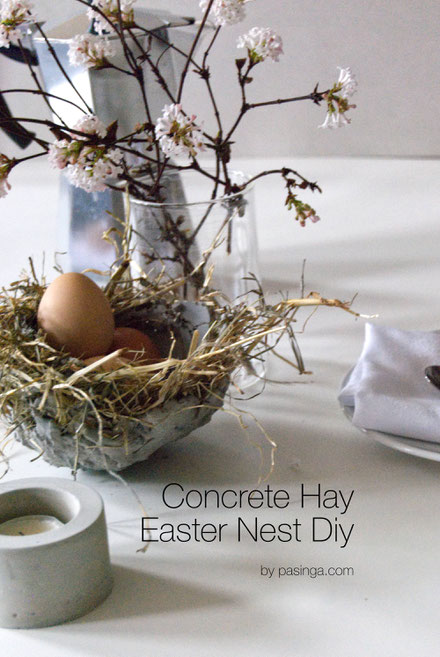
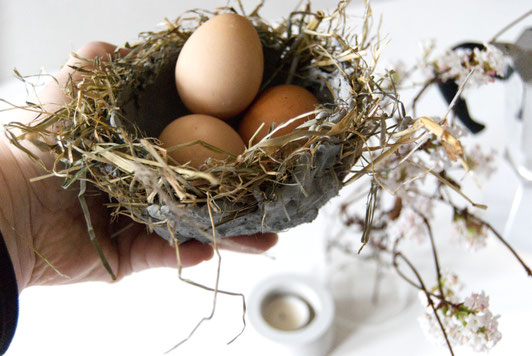
An Easter nest DIY made of concrete and hay or straw the perfect modern and crafty decor accent for the in- and outside. What can I say, it's an incredible fun to form these nests / bowls / planters by hand and just about right to enjoy with friends and family!
Materials:
rabbit/bunny straw or hay mix to form the nest; an old bowl, balloon or styrofoam you might have to re-use to form the nest over; an old surface as things get messy; concrete mix, mixing tools; and for your safety - glasses, a mask and maybe two or three sets of gloves

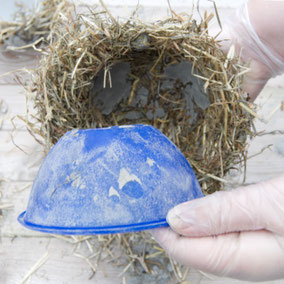
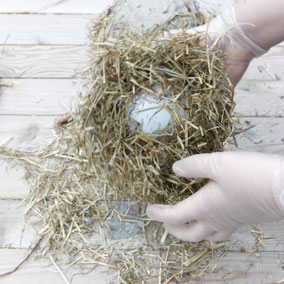
Ready?! Lets do this, excited!!! - I am going to use the small blue plastic bowl for the first nest variation and the balloon to form the second nest. To start let us get the bowl and hay set up as pictured below. I got dressed too as it is a bit windy today and I want to add the concrete as quick as possible. I put the hay/straw all around the bowl and a bit on top. Furthermore, I have it all together sitting where the concrete can cure and dry for a couple of hours once I am done forming it.
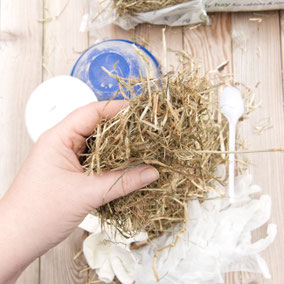
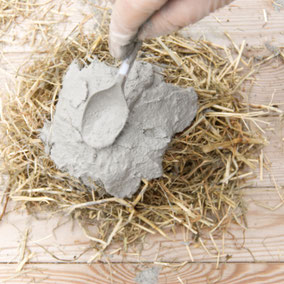
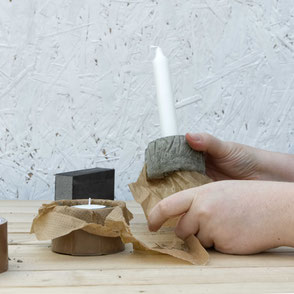
All set - a fluff layer of hay is dressed around the bowl and I am mixing a fairly thick concrete mix. As always read the instructions of your mix. If you are a quick worker a fast setting concrete could be for you but if you fancy some time a normal mix will be the one for you. But if you have done a concrete Diy with me before you might just have some left over - go for it use it, no need to use special concrete. For more tips in regards to concrete mixes you could have a look at the candle holder or Air Plant holder DIY.
How much concrete you need depends on how many nests / bowls you are planning to create but for the sizes I am showing here I used about 300 to 400ml of concrete on each bowl.
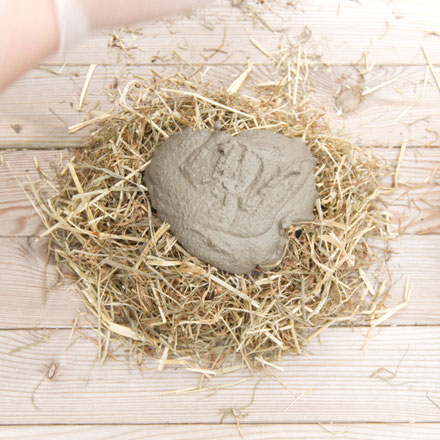
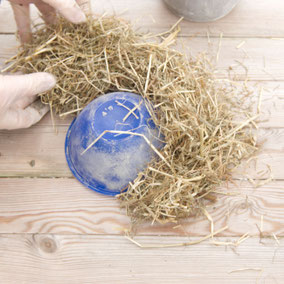
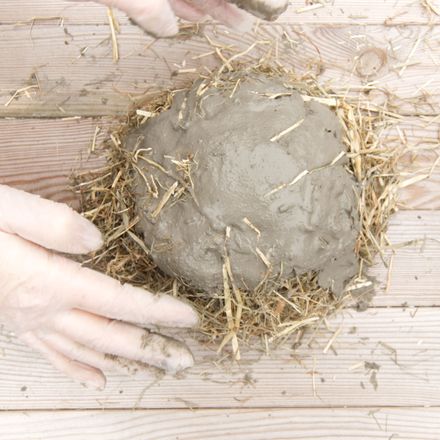
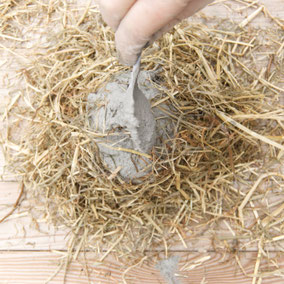
Well, I am sure you had a good laugh when you saw this image - believe me we did too and this image does not even capture half the fun we had doing this! But with all seriousness - this is the first big slap of concrete meeting the hay. If your concrete stays in 'shape' similar to mine on the picture it is just right for what we are about to do next.
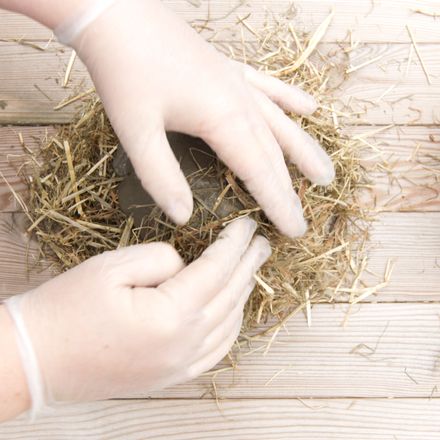
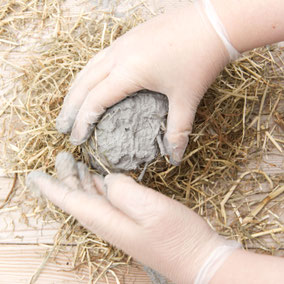
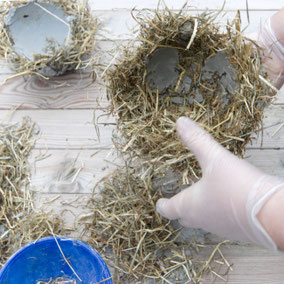
The hay we have outside/on top of the bowl and the wet concrete get now 'mushed', well, better mixed and pulled into the upper layer of concrete. It is pushed into the wet concrete, really. Take the hay from around the bowl onto the table top and pull it gently without pulling it away but up into the wet concrete. Try to go all around ....
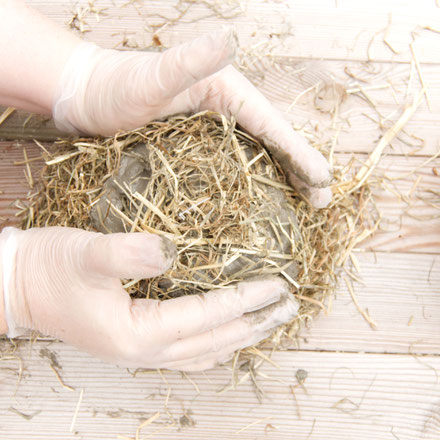
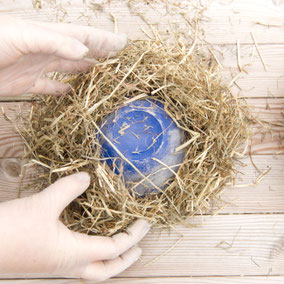
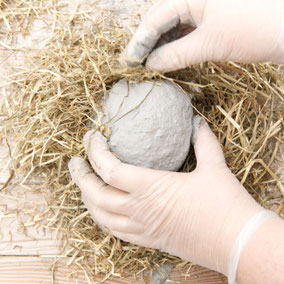
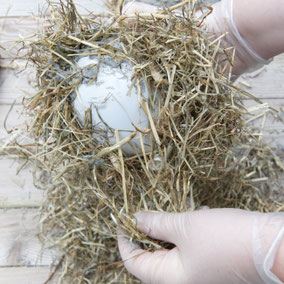
Shape your straw and concrete mix with both hands, when done add a bit off loose hay on top and add a new layer of concrete...
Try to use less concrete compared to the first time and start pulling thin layers of hay from the concrete free area to the concrete area.
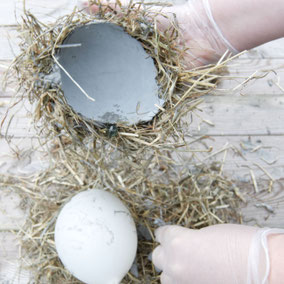
Go on until you may have 3 or 4 layers done like this. From there add the last layer and add only a little bit of hay/straw to show it off but to allow the concrete to stay visible as nest base.
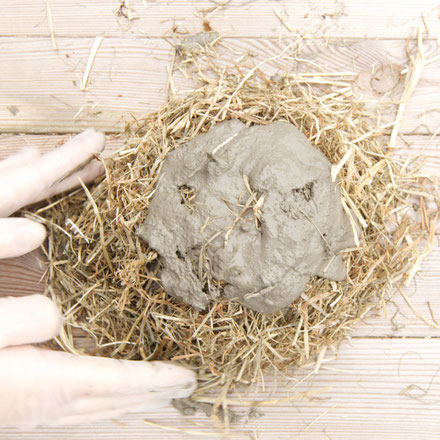
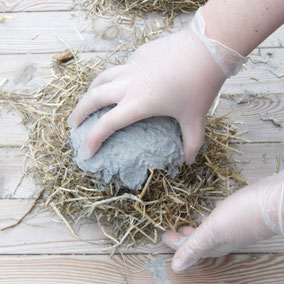
Once you feel you have done what you could and you like the overall shape from this side let it rest. It is also time to stop forming when you feel the concrete breaks fairly dry like crumble.
Well done, time to do the next one or just to put your feet up and have a cuppa!
Moving on to the balloon variation which is also way more egg shaped compared to forming it over the bowl. If you thought the first one was tricky wait for the balloon to move. I managed to pop a balloon while forming the nest too, good we have been fully dressed for this, haha, what a glorious mess. So for the following - at all times - go gently!!
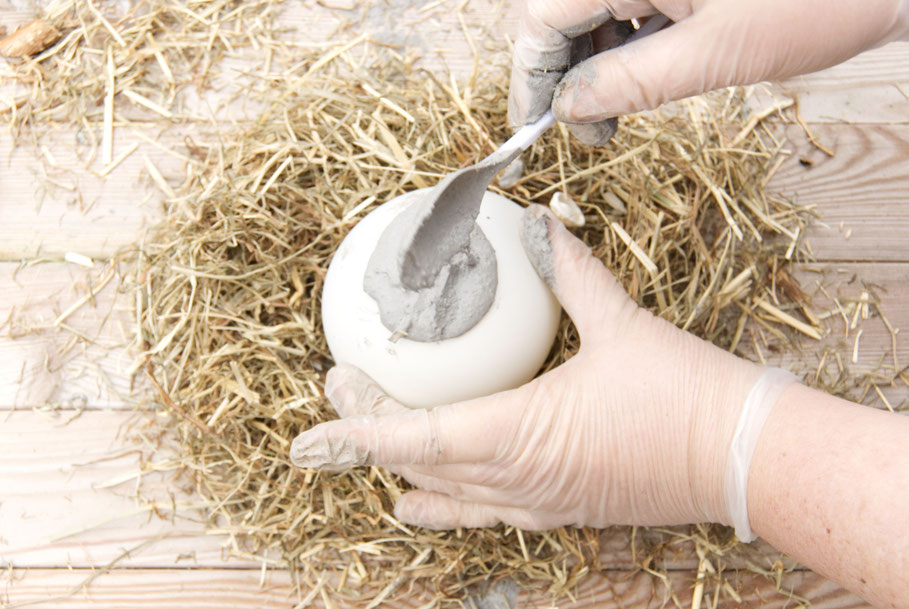
I start off a bit differently by only adding hay around the balloon but not on top. The hay/straw helps me to keep the balloon in its place but also, by not adding hay on top of the balloon, I hope to make sure that concrete will be visible inside the nest / bowl as well as outside. I add about 3 spoon full of concrete. This time I use the spoon as a big slap like above was just too much for the balloon the first time around.
Once the concrete is on the balloon quickly start to push hay into the concrete. Just like above, pulling it up from the ring around the balloon.
It is a bit more tricky compared to the bowl since the balloon is softer but you will feel it getting easier with more hay and concrete coming together.
Once I have pulled hay around all sides I add another layer of concrete and start again adding hay from the ring.
I have enough for about 4 layers but it could do with one or two more but that is up to you. I finish the nest with the 4th layer and decide to do some blobs around to have it look a bit more like an broken eggshell [image right]. Once done, it is time to leave the concrete to cure for 3 hours but this will vary with the concrete mix and size of your nest.
Time to have a look how everything turns out ...
Due to the bowl, this one is an easy lift.
Just pop it around and wiggle the bowl gently until it just comes out.
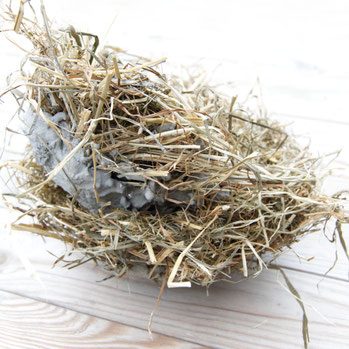
It is all very compact, so I went on to fluff the hay, to make it more uneven, more rustic if you like.
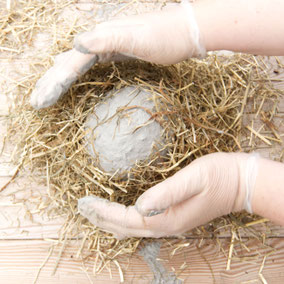
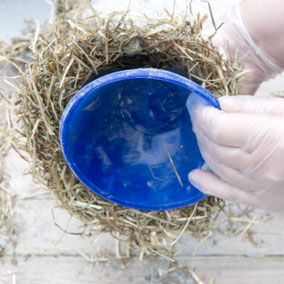
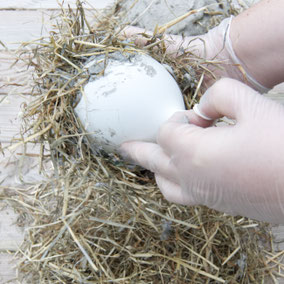
Moving onto the balloon nest, it is the same to start with just lift and turn. However, to get to the balloon you will need to fluff the hay a bit and push it aside or take it off as pictured below. Once done, you gently pull the balloon out of the concrete hay nest or you can pop it!
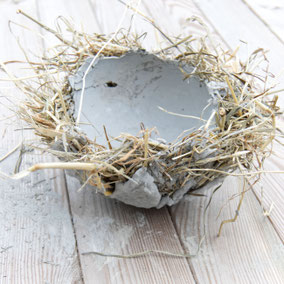
Here we go two concrete hay Easter nests waiting to be decorated!
Well, of course you should allow another day or so to let the concrete dry before adding them to your table but if you use the nests to add plants or decorate the outside just go for it - I can't wait to see what ideas you come up with, tag me in or #pasinga ;)
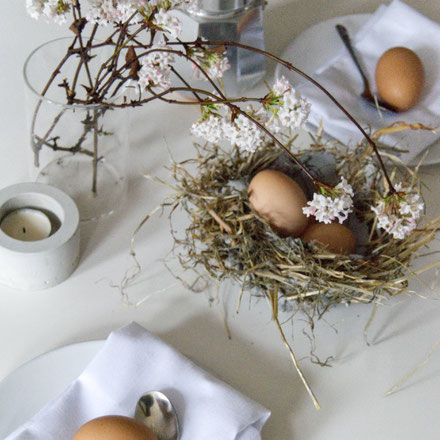
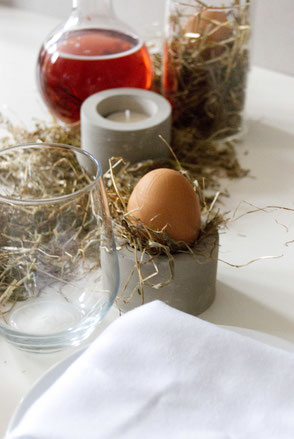
I put up a quick and simple Easter table decoration idea as I could not stop myself - it's always the same with me and all things newly made - I have to put them in scene to enjoy.
So, will sip my coffee now and scramble these eggs. As for the photo they have not even been boiled, psst don't tell anyone. Hope you enjoyed this DIY and have loads of fun making these Easter nests, best
Antje
You might also like ...
Write a comment