It is about time, I know time goes by way too fast but at long last I put together my first proper concrete diy instructions for you guys!
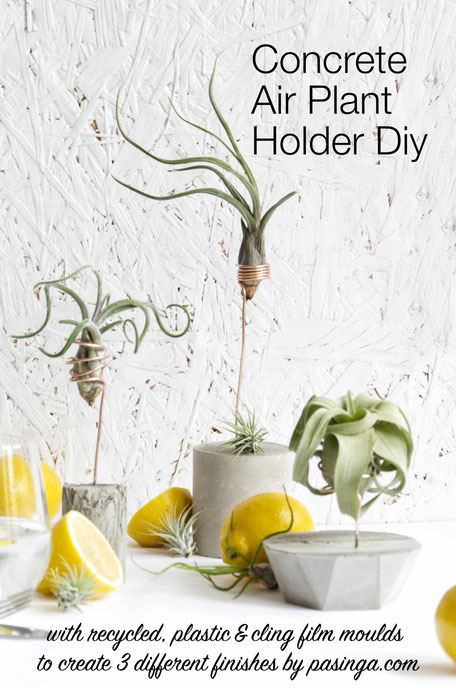
Since you love Air Plants as much as I do, I thought it would be good to start with a concrete diy which combines the love for concrete, copper and Air Plants which can be decorated all year around. Not to worry I got more diy's coming up for the holiday season, yeah, already excited to share those with you soon too!
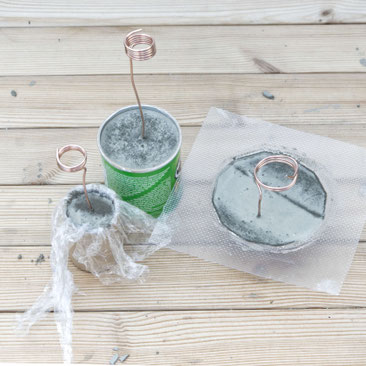
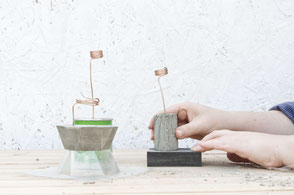
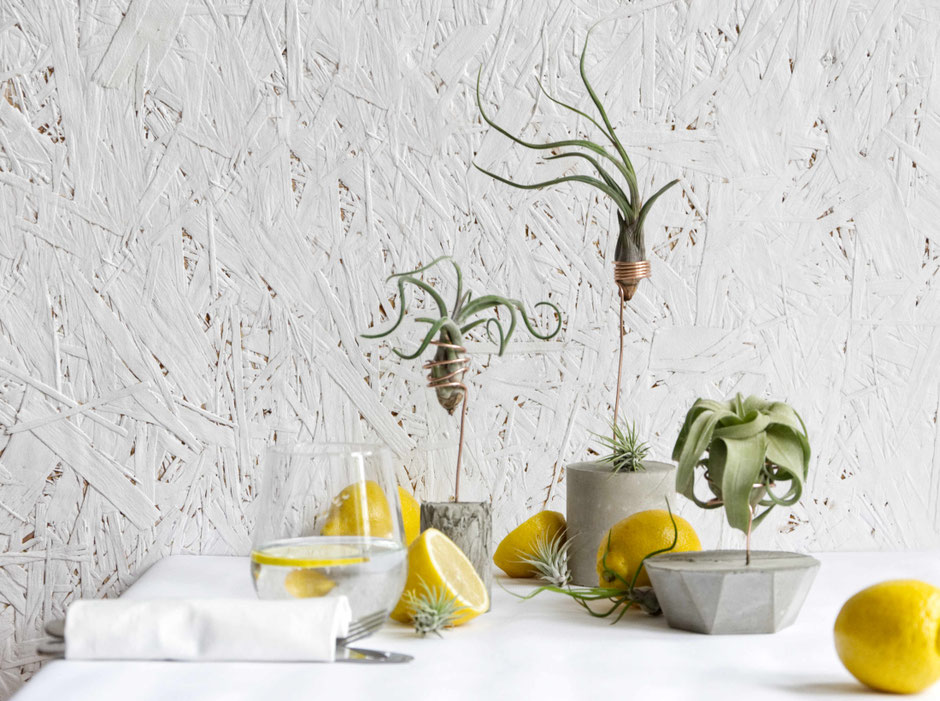
As the picture suggests, I have prepared instructions for you to not just create one style but three. So you will be able to create totally different styles for your table scape or indoor-garden, keeping individuality at its best!
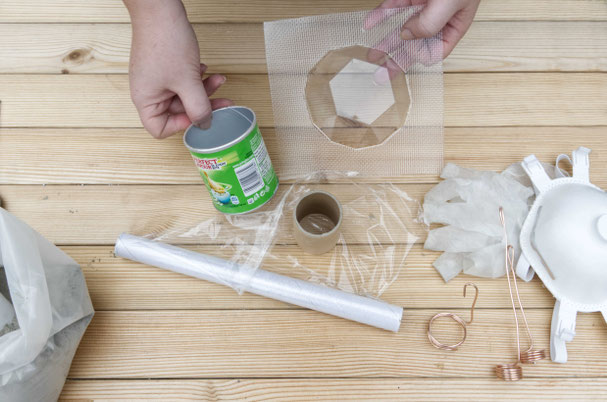
We will use recycled moulds, my new geometric plastic reusable mould and something from the kitchen, cling film to create a unique 'tree bark' texture in any mould you fancy!
To start things, check the material list below. Once you have gathered all your materials you will need to calculate about 1 to 2 hours for the wire bending, mixing and pouring. After about 3 hours spare time it will be about half an hour for unwrapping and sanding.
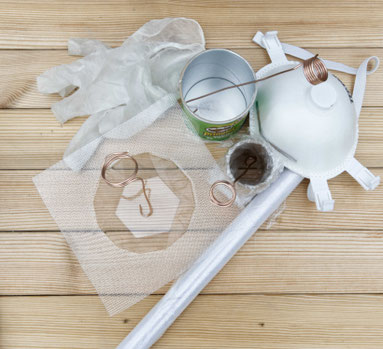
Materials from building depot, craft shop and your kitchen:
gloves, mask and glasses;
recycled mould, cling film, my plastic mould [also made
from recycled material];
3mm wire in your preferred colour;
a quick set concrete pre mix;
water and mixing tools [spoon & bowl];
Air Plants or alternative decoration
Bending the copper coloured aluminium wire into Air Plant holder spirals
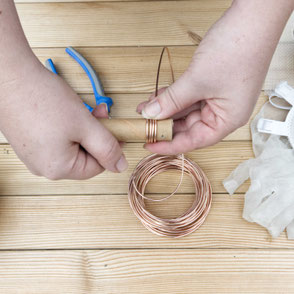
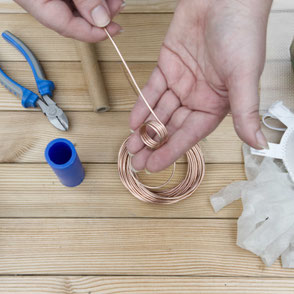
Let's get the copper wire bend!
To bend an even spiral it's best to bend it over a round object. This could be everything from a thick pen to a piece of a cardboard tube of a finished cling film like I do. You can go as often
around as you like, just try to keep it tight. I stopped after 4 turns as I felt that would be more than enough to hold the light Air Plants I am planning to use.
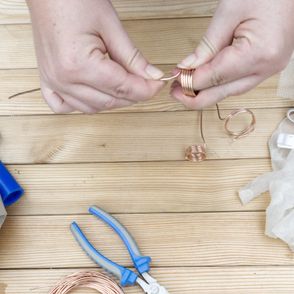
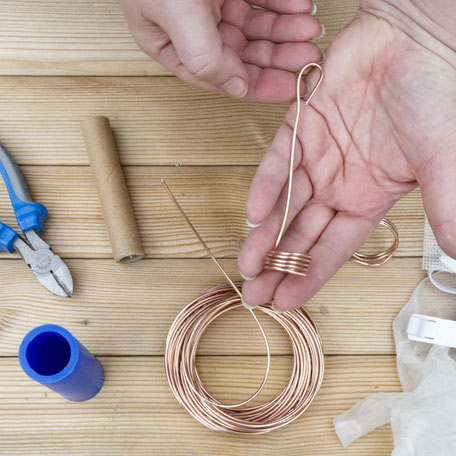
Once your spiral has taken shape, take it off the tube and cut the end to the desired length, keeping in mind that you need about 3 to 5cm to spare. Bend the arm downwards and form a hook with
the ending. That is the part that will be in the concrete, so don't worry about beauty here.
Let's move on - off we go to the moulds!
Preparing the moulds for the concrete cast

Recycled packaging like yogurt cups or Pringles tubes won't need anything, just make sure they are clean and dry.
This is a geometric plastic mould which does not need doing anything to it either but if you like you can add a bit of grease [vegetable oil] as a release agent.
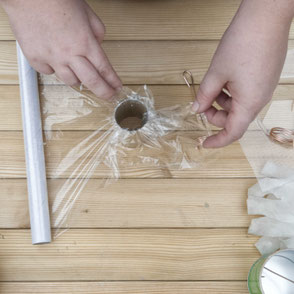
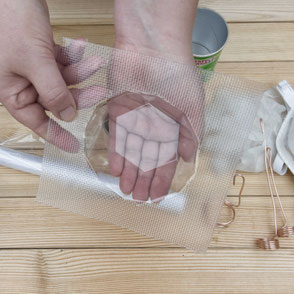
The fun one of this diy - cling film mould to create a unique texture. Cover the inside of your mould roughly with cling film. With this method you can use cardboard moulds in any shape and size.
Done? Perfect!
Now it's time to get yourself and your concrete work station ready!
Gather your moulds and the copper wire spirals and sort them to the moulds you would like to use them for. Get your gloves, safety glasses and mask on as well.
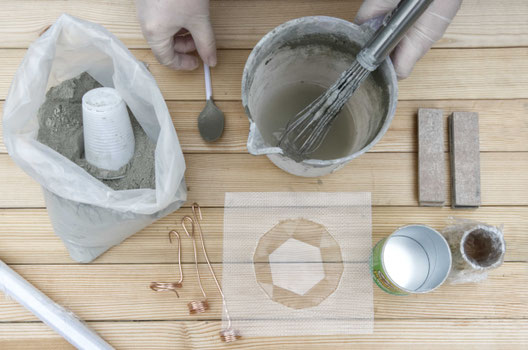
My work station has now a concrete quick set mix, the moulds, the copper wire spirals, a plastic spoon, a mixing bowl / measuring jug and a whisk. The wood cut offs are my go to helpers but you can use some clothes pegs as well.
I estimated that about 100ml of water mixed with 4 to 5 cups of premix should be sufficient. However, mixing instructions vary and it is best to check the instructions of your product.
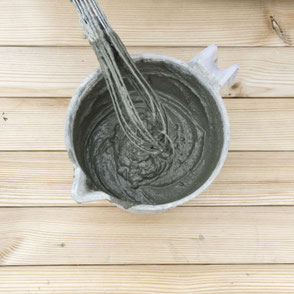
In any case your concrete mix will be nice and good for the project as soon as it is smooth and keeps the form you turn it into and only a good shake will change that.
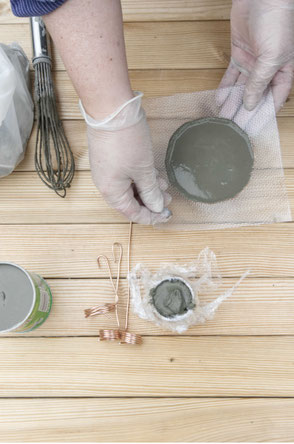
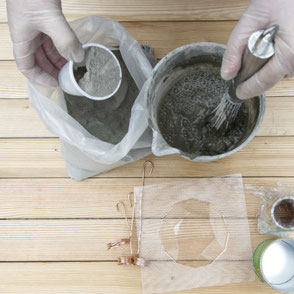
Get the spoon out and fill the moulds.
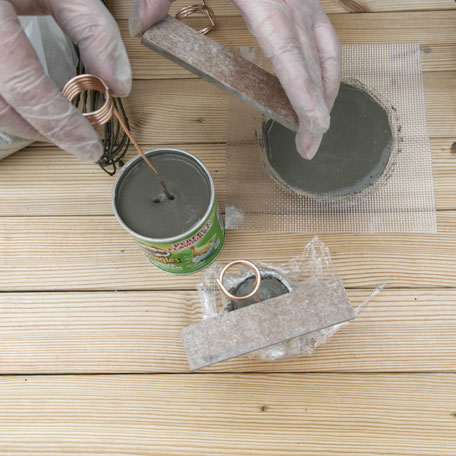
Shake the moulds a bit, a few air bubbles will open up and the surface will even out. Find a good place for them to cure, place them there and insert the copper spirals. Insert the hook side of the spirals and move the wire a bit to get rid of the traces. You don't need to insert it any deeper than about 1cm above the hook bending ends.
Use some wood off cuts or the clothes pegs to help hold the wire. The longer the wire spiral the more will that little helper be necessary. Let it cure for an hour or longer depending on your mix. After that you can take the wood / pegs off.
After three hours I am already unwrapping and sanding the concrete copper wire Air Plant holders!
Let me share a little tip with you
- your work is not ready for unwrapping if the mould with the concrete solid is still warm when you hold it - wait a bit longer, the finish will be much nicer!
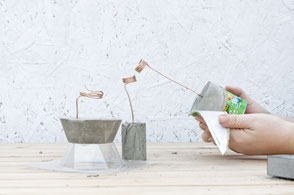
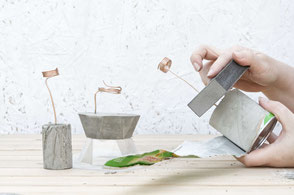
Well, pretty easy, wiggle the mould a bit to get some air between the mould and the concrete solid. With a bit of luck you will be able to use the mould again! Only the rim edges will require sanding if you prefer a smooth finish.


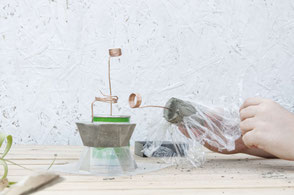
Cling film unwrapping can be a bit tricky but the texture is well worth it. Take it slow and a bit of sanding paper can be a great helper as you can use it to rip the film off, but be gentle!
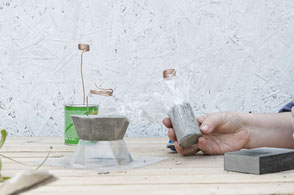
Last but not least, the big cylinder from the Pringles tube. Here I did a bit of sanding on both sides but otherwise it felt very smooth.
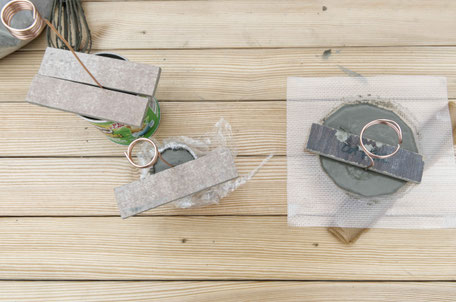
The wild three together!
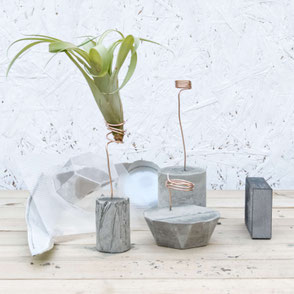
It will be best to let them dry a bit further, for about 2 to 4 days before you incorporate them into your decor, especially when you wish to place them on a wooden surface as the concrete needs to dry a bit more. The grey shade will lighten during that process as well and the weight will change too. But no worries you can add the Air Plants already!
Not much left to say besides from happy decorating and on the right my quick instruction pin to keep this diy close!
I hope you enjoyed this little diy and have loads of fun creating your own indoor-garden or table scape of floating plants.
Antje

Write a comment
Alessandra Scolar (Friday, 22 January 2021 14:55)
Nossa, adorei suas idéias.
E as peças são lindas.
Parabéns pelo seu trabalho.