
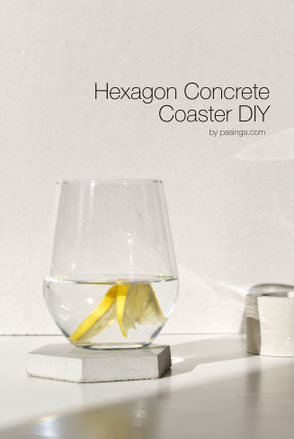
Here we go again, anyone else having an ABBA day?! No, just me, ok! At the end of February I posted my first coaster Diy, the hexagon shape, and I was excited to receive your emails and feedback. It was just lovely to receive that request for another design to mix things up as well as the note if I could make it even clearer how I mean the 'air needs to get between concrete solid and mould' during the release process. So here we go, drumroll please!, welcome the rhombus design to craft another modern coaster!
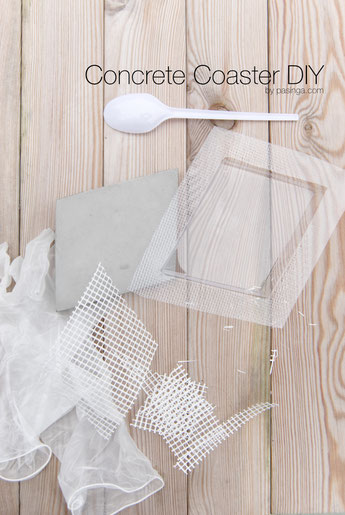
Materials:
hexagon plastic moulds or a self build mould, fibre mat for reinforcing, concrete mix, mixing tools like plastic spoon and cups or containers and maybe sanding paper / sanding block, and for your safety - glasses, a mask and gloves
Workstation & Time:
It is best that things remain where they are poured for at least 3 to 4 hours for most fast setting mixes or 24 hours for a standard mix; it helps if the surface is flat and fairly straight; Minimum time required is 4 hours but you will have at least 3 hours free time in-between
First things first - preparing the moulds and fibre mat ....
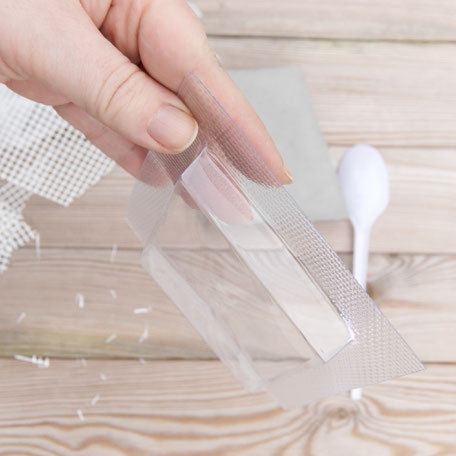
If you are using one of my recycled plastic moulds nothing needs to be done as they are smooth and will finish nicely. If you are worried or have used the mould before a bit of veggie oil on a paper towel and a quick wipe could be of help.
Should you have build your own hexagon mould, maybe with one of the up-cycled materials or the aluminium foil finish I have shown in earlier tutorials, make sure the surface for the vessel/glass to put on later is fairly even.
Let us move on to the re-inforcement for these coasters. It is not a must but if a major crack occurs or it has fallen of the table it wont fall into pieces. Maybe even, character will be added.
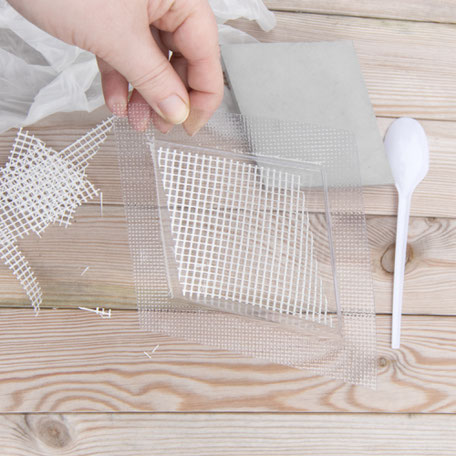
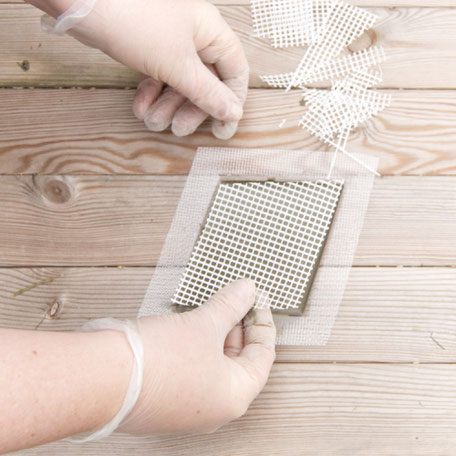
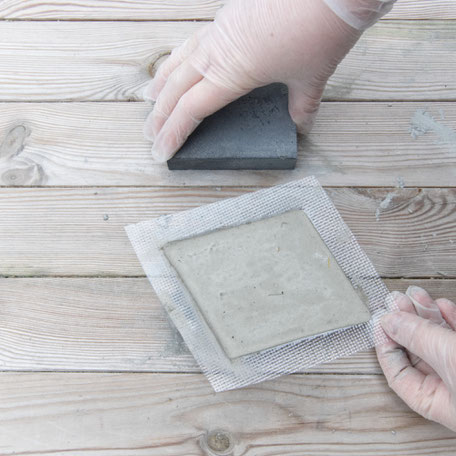
I recommend a matting for this project as it is easy to cut, often made of recycled materials and cleaner compared to loose fibres. You wont need more than an A4 sheet for 4 coasters if you use my mould. Cut the mat to a rhombus shape, almost the size of the mould [image above]. The left overs are not waste they will be the second layer of reinforcement.
The Workstation - get your mixing tools, gear up with mask, glasses and gloves. Once done it is time for some water, your concrete and aggregate or a quick mix. I recommend a quick mix as it will only need some water and keeps the project time down. You can choose any mix available at your home or builders market. More on this can also be found in my previous DIYs.
Mix your concrete! Often you can use a 1:3 ratio, so one plastic cup water and 3 cups concrete mix. But as I said the mix will depend on the brand you are using. The ratio should be on your concrete mix as well and it is always good to check those instructions too.
Rule of thumb > your mix should be keeping the shape as indicated below and when you shape the whole mixture it will even out but only then. Even more details are here too!
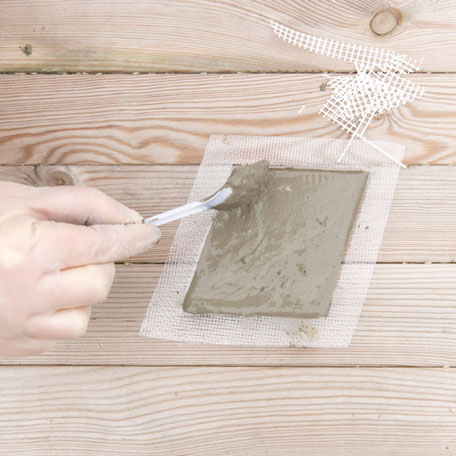
Add about two spoons of concrete to your mould. I used a normal plastic spoon /soup spoon just to help with the ratio but it is supposed to form the first thin layer not more. Try not not move the concrete with the spoon as this could lead to scratches in the mould which will show on the finished coaster.

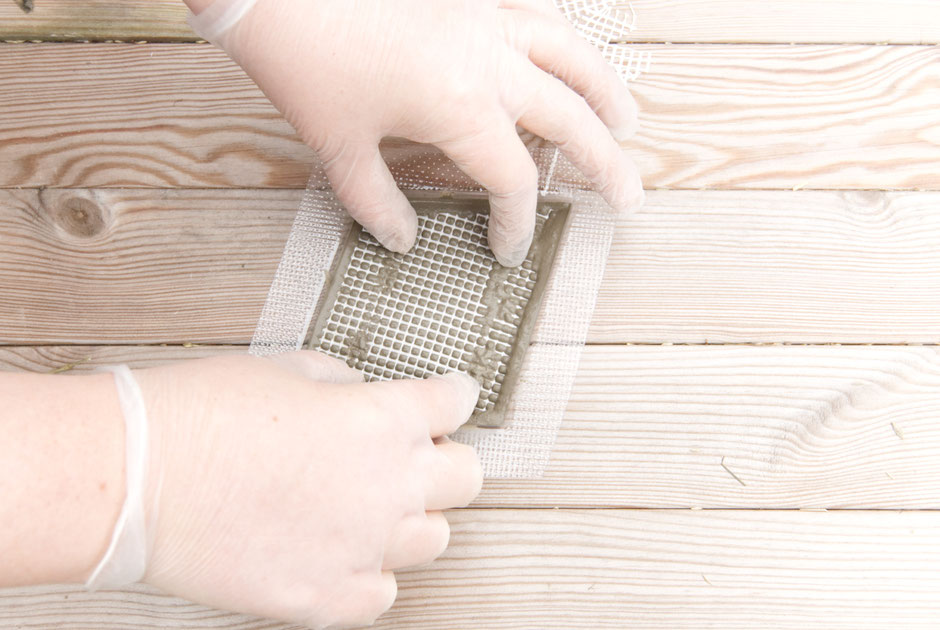
Push it into the concrete by tapping the mat all over the place.
Shake the mould to release air bubbles and to have a thin layer of concrete all over the base of the mould which will be later the top of your coaster.
Once the base is covered add your rhombus shaped mat with only millimetres to spare to each side of the mould.
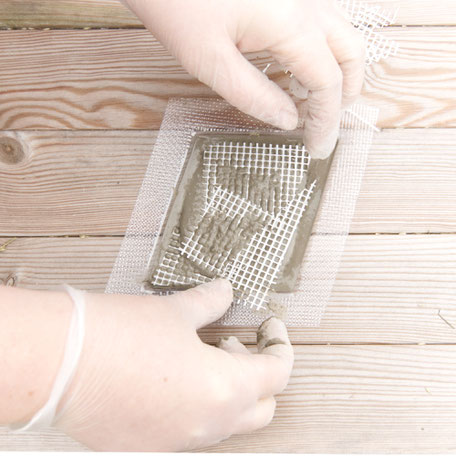
Once it is fairly sunken in add another spoon of concrete to the centre of the mat. Use the cut offs of the mat to form a second layer of reinforcement. Push those from the centre to the outer corner of the mould so that the freshly added concrete gets pushed all around the reinforcement and evens out.
Time to add more concrete to the centre and around. Help to even the layer with the spoon, once almost covered a bit of light taping on the mould will release more air bubbles and even the concrete.
Set it aside, best on a fairly smooth and level surface, and wait for at least 2 maybe 3 hours but don't forget that can vary with your concrete mix. In any case time for a well deserved break!
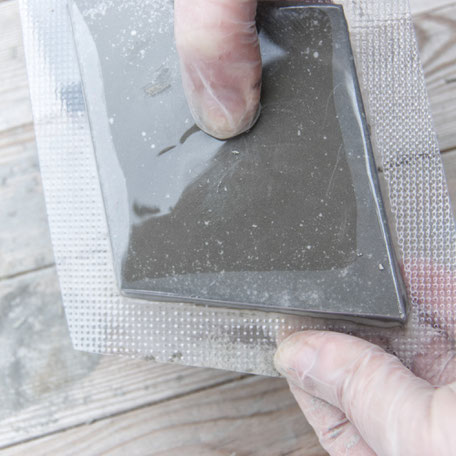
These gaps will bring air between the concrete and the mould which will allow it to gently release the concrete coaster. Below, you can see how the first gap gives air to the lower corner but you will feel at that stage more air is needed so keep doing what you do ....
Note - to avoid scratches inside the mould - don't mix inside the mould; wait until the concrete is fully set to release the solid; remove left over bits of concrete with a fine brush.
All cured and hardened the concrete on the left is just about ready to come out of the mould. I have to admit my break was bit longer, I waited about 4 hours just so you know.
I think this mould is worth reusing and it will allow good results for about 4 to 6 coasters if handled right. If you like to do so start by gently pulling the edges of the mould until small gaps appear all around as shown below.

Tadaah!

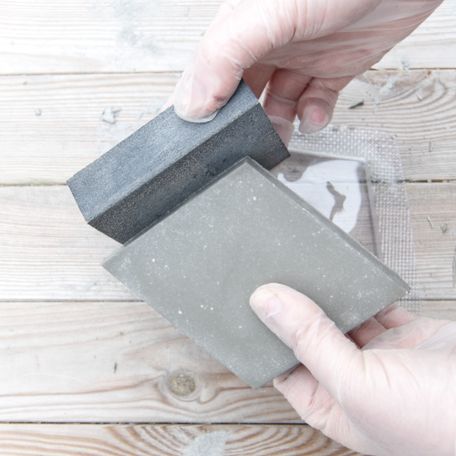
Sanding can be done but you don't have to. However, sometimes the top corner or edge is not so nice and a fine sanding paper or block could just do the trick to smooth things out.
From here on out, your coaster will maybe need another day to dry a bit more but don't worry you can already use it. However, you might want to add some cork or clear bumper feet if you are planning on using them on glass or fine wood tables.
If you wish to keep them as wonderful grey as they are you could go on and seal them with beeswax, carnauba wax or similar. It will protect the concrete, similar to protecting wooden cutting boards, but it would need to be updated from time to time.
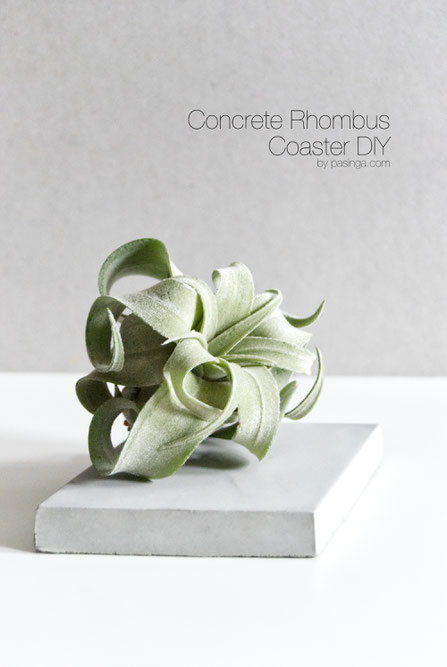
Marvellous all done!
I hope you had fun crafting your new concrete coasters with me, I think it was fantastic having you and don't forget questions, tips and so on can be added in my comments below, best Antje
You might also like ...


Write a comment