Lately I have found myself wishing for magical powers way too often. My daily workload just got out of hand and some tasks are just too time consuming - I bet you all know what I am talking about. Right?! Well, I can't help with a lot but maybe when it comes to taking photos for whatever reason - of objects - I have compiled somewhat 10 helpful 'hacks' which can at least make that job a lot easier.
1. The white background
The white background is most likely the handiest of photoshoot backdrops and the easiest is white paper or white foam board. Both are easy to set up and great for flat lays or detail/macro images. I talked about other fairly cheap background options and why it could make sense to choose something else in my '5 Jewellery Photography Tips' and much more too, so check it out!
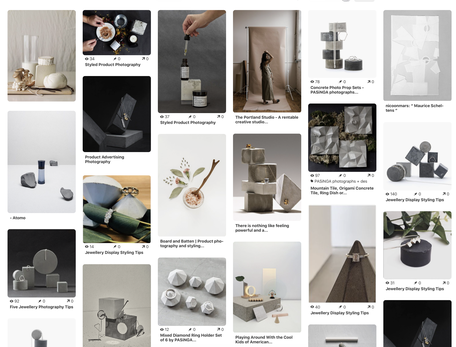
2. The use of a Prop box / shelf can be handy.
Well, mine is a bit a larger and it is a storage drawer under my bed. I pull it out and have it all in sight to set up for whatever I may need for that particular shoot. If you are just beginning you might think that is a lot but you will see as you get going that props are found everywhere and once you are inspired by something it is hard to let go. Furthermore, and that is most likely the better reason, once you have started to shoot with an object it is good to keep it to maintain the look of your blog or online store cohesive, same goes for insta. Not in all cases but often.
3. Equipment and light
As mentioned in my previous '5 Tips ..' as well choose the right equipment for you. Your photos will look better if you love your tools. As for light - natural is best and a weather app could be helpful. In case your light source is very limited use a cardboard sheet covered in white paper or aluminium foil as reflector. The white paper is softer in regards to reflection but it won't change the light so this should be your first choice. The aluminium foil can be better when the light is not as strong but double check to avoid having a blue hue coming into the mix.
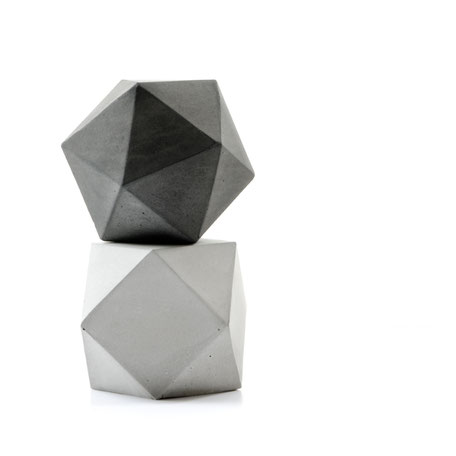
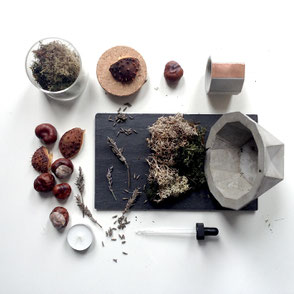
5. Style your images
Sounds crazy to mention after we talked about where to store your props but yes indeed - styling needs to be done. This is actually a consideration which ends up being in my shoot plan way before my actual setup. Sometimes I create mood boards and sketches of what I wish to style, how and for what. But it is point 5 as if you shoot your products or similar things more often this will be something you are trained in and it wont be that much effort anymore unless you are dare to edit new stuff of course :D
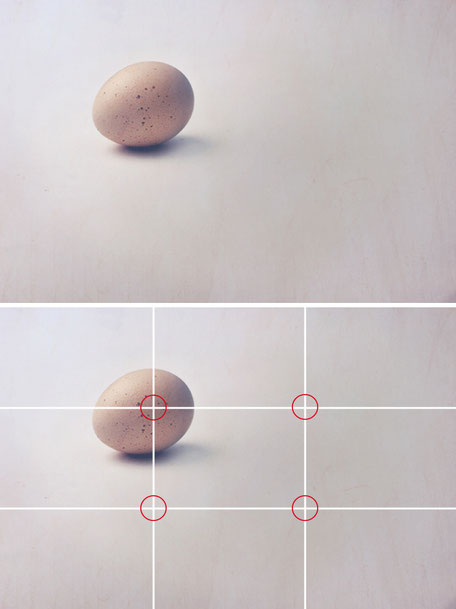
6 + 7.Take multiple photos and include negative space.
Not always is everything right for that one shot. Your camera could be shaking without you knowing just by shutter speed. So come on don't be shy take more than one photo and have the choice while editing the best shot.
Additionally, don't just take close ups. Negative space / Rule of Thirds [image on the right] can help with scale and could make the whole image appear cleaner. On top of that, you will always have the option to crop the image while editing you photo.
4. Diffusers for sunny days
Well, sometimes you just can't have it all. All is prepped, your setup, styling and plan for the shoot all sorted. Everything right for a natural shoot close to your window. Weather app clearly states cloudy - but there is sun, tadaa...
Time for a diffuser to not be too disturbed by that. Well of course you can go out and buy one and so on but what if not already done and you wish to proceed? The solution could be white greaseproof paper or fine white fabric to filter the light. Alternatively an almost clear plastic lid could also do the trick.
Puhh, what a list feeling like a tea break is needed and also, seeing all my latest creations almost shouting at me - we need to be photographed too. As I said total overload on tasks. Anyway, hope you have your tea or coffee and feet up! Let's get right back to it, shall we?
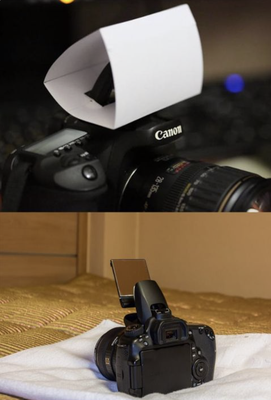
8. Don't use flash
Really, as rule of thumb don't do it. It is hard cold light but if you can't resist the urge, please cover it with white paper or cut an old plastic milk bottle to cover it. Have a look below for inspiration, it will help but please don't.

9. Edit your photos
It is an extra step but it is well worth doing as it can add the little extra to create a cohesive look for all your images. You do not need to go all out with Photoshop there are plenty of other solutions out there just have a look around the app store, I can recommend Affinity Photo. But often the simple photo editing options which are delivered with the simple photo editing software on your phone, tablet, or Mac / pc are more than enough to start.
10. Have fun! Stay true to your own style and it will show!
So will be get going on my next shoot now and start preparing which also means I will be listing new designs so stop by again soon. For now fabulous photoshoots, Antje
You might also like ...


Write a comment